What you need is just this nice Convert DVD Video to iPhone software
Part 1: How to convert DVD movies to iPhone
Use Aiseesoft DVD to iPhone Converter.
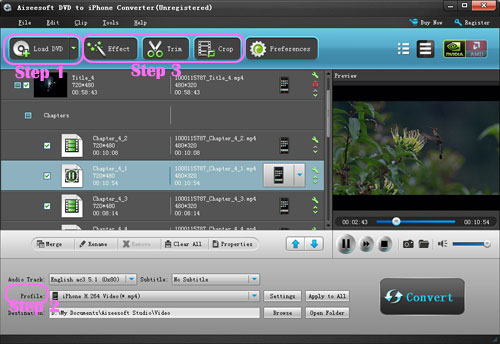
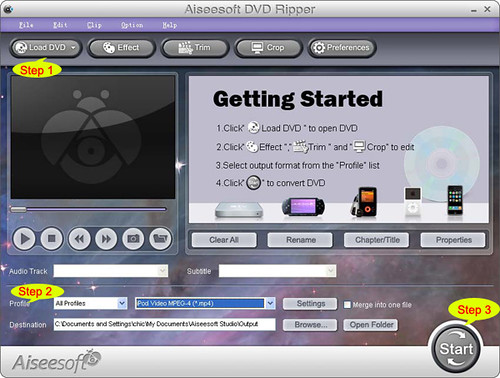
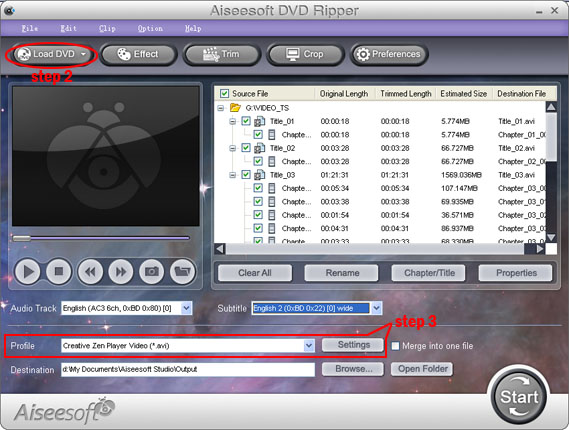
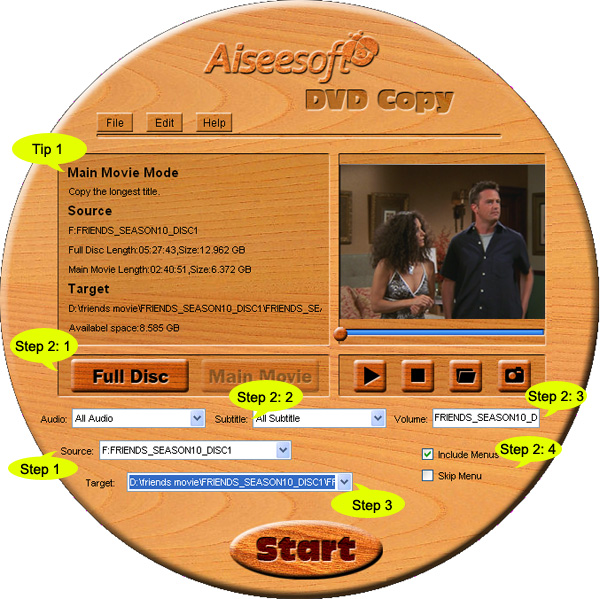
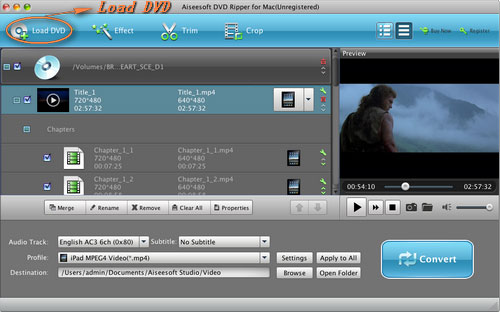
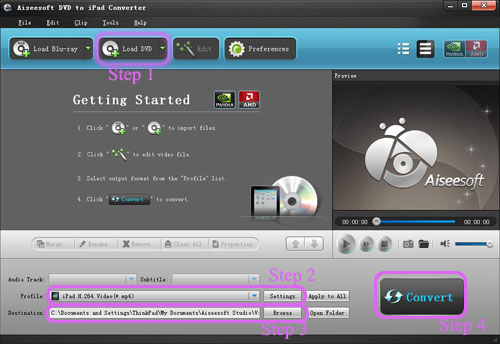
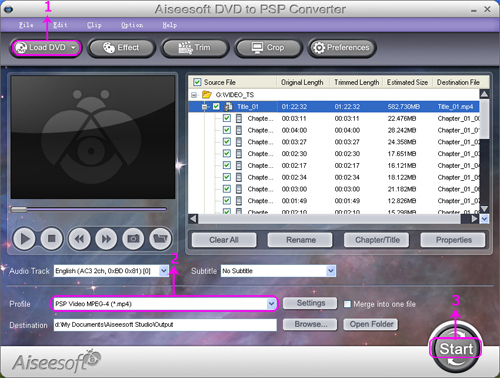
Step 1: Load DVD
Put your DVD in your DVD Drive and click “Load DVD” button
Step 2: Choose output profile and Settings
You can choose your output profile in the drop-list when you click profile list.
You can also adjust your settings, such as Resolution, Bitrate, so on.
Step 3: Edit Video
You can do “Trim”, “Crop”, “Merge into one file”and other video editing functions to make your video more enjoyable.
Click “Start” to begin you conversion. After few mins you can enjoy your DVD movies on your iPhone.
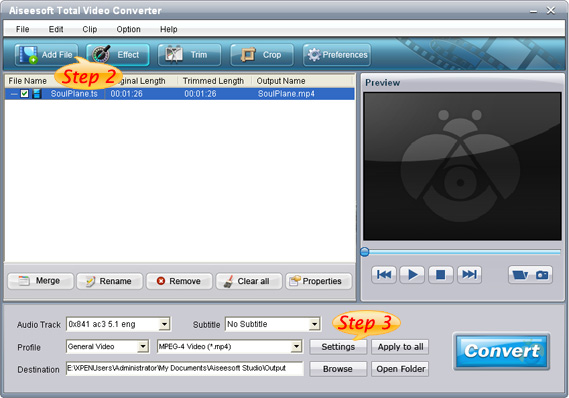
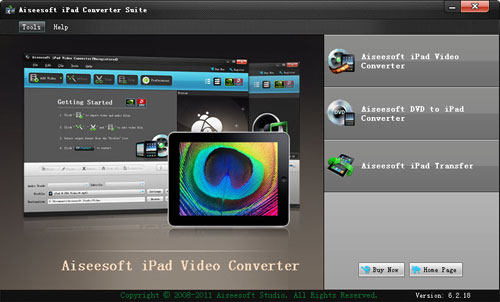
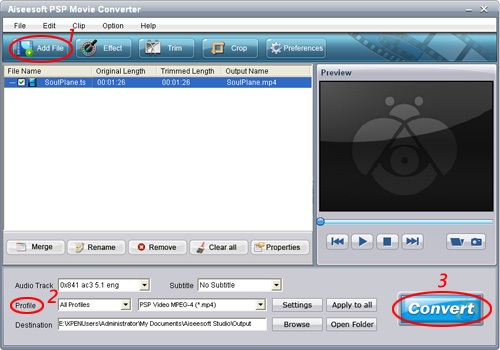
Part 2: How to convert videos to iPhone with iPhone Movie Converter
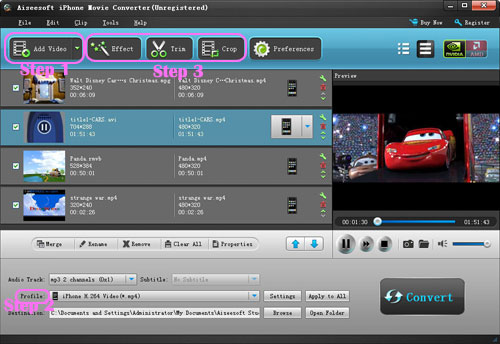
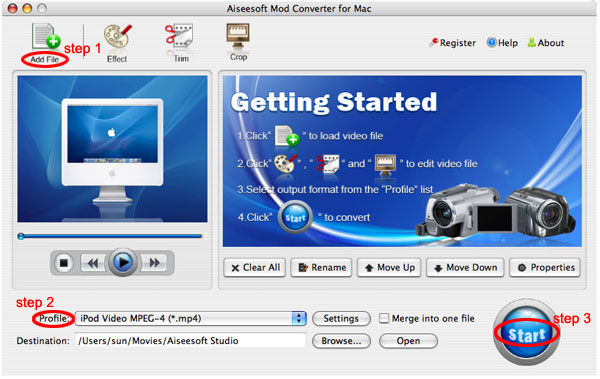
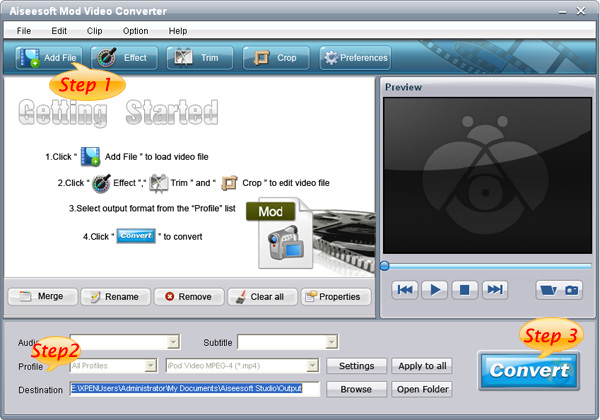
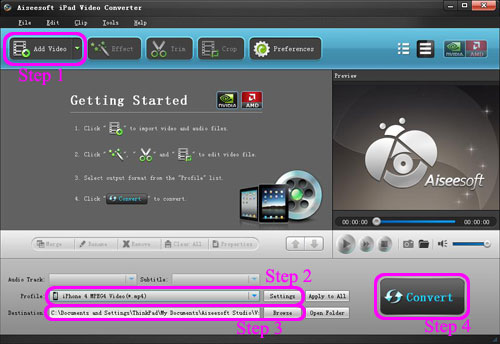
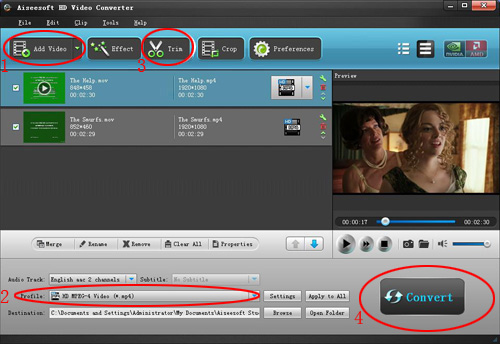
Step 1: Add file
Click “Add File” button to add your video you want to put on your iPhone.
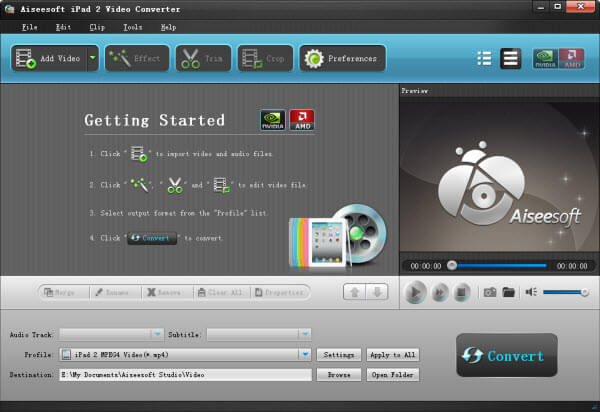
Step 2: Choose output profile and settings
You can choose your output profile in the drop-list when you click profile list.
You can also adjust your settings, such as Resolution, Bitrate and Encoder and so on.
Step 3: Edit Video
You can do “Trim”, “Crop”, “Merge into one file”and other video editing functions to make your video more enjoyable.
Click “Start” to begin you conversion. After few mins you can enjoy your videos on your iPhone.
Part 3: How to transfer songs and vdieos from iPhone to computer, from computer to iPhone and from iPhone to iPhone.
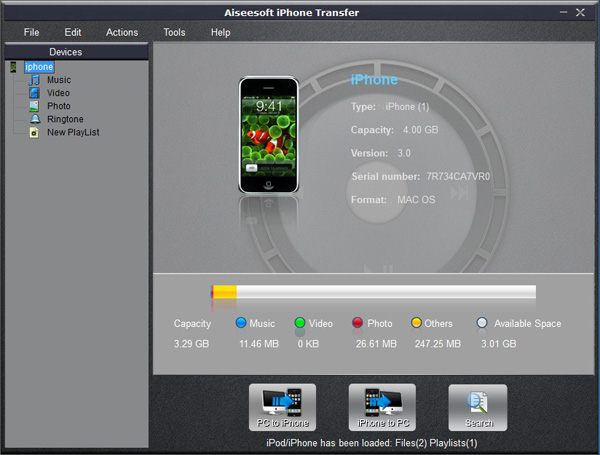
Step 1: Click iPhone Transfer
Click “Computer to iPhone”(1) button, it will allow you to transfer songs and videos from your computer to iPhone easily.
Click “iPhone to Computer”(2) button, it will allow you to backup your songs and videos from iPhone to your computer.
Click “iPhone to iPhone”(3) button, it will allow you to transfer songs and videos from one iPhone to another iPhone dirrectly.
Part 4: How to make your own iPhone ringtone
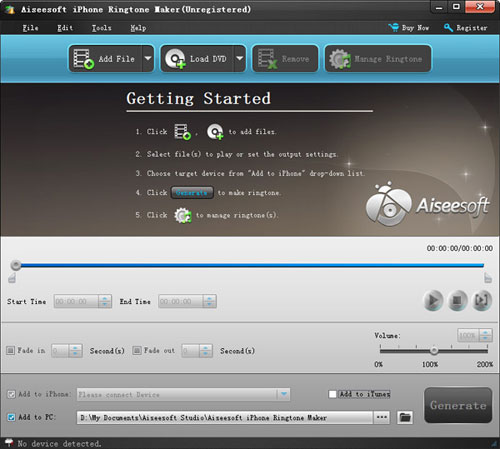
Step 1: Click iPhone Rigntone Maker and click “Browse” on the right side of "Input File" to import the file that you want to make ringtone from it.
Step 2: Play it and listen the music to find the segment that you want to use it as ringtone. Then drag and click the start & end slider to set your wanted segment, or type the start & end time in the corresponding text box directly to get the exact segment. You also can pre-listen the converted audio before generate.
Step 3: Click “Browse” on the right side of "Local Output Folder" to choose the output destination.
Step 4: Check "Export to iPhone" option, the converted ringtone will be load to your iPhone directly.
Step 5: After all the settings are finished, click “Generate” to begin making your own iPhone ringtone.
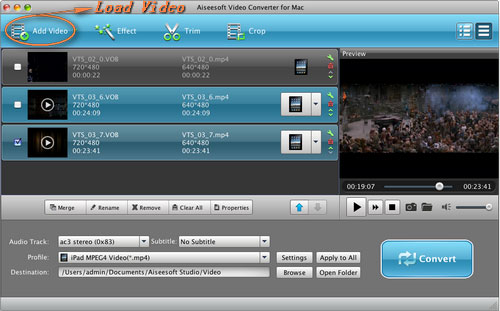
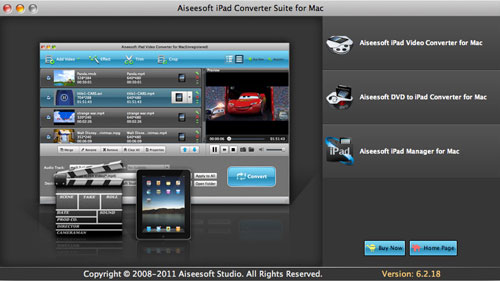
For Mac users I recommend you Aiseesoft iPhone Software Pack for Mac
Using Aiseesoft iPhone Software Pack for Mac, you can convert any video/DVD to iPhone Mac, backup the audio, video files on iPod to Mac and import audio, video files or folders from Mac to your iPod without iTunes with the help of iPod Manager Mac, even make iPhone ringtone from AVI, MPEG, WMV, MP4, FLV, MKV, H.264/MPEG-4, DivX, XviD, MOV, RM, RMVB, MP3, WMA, AAC video and audio sources on Mac.